Just a question, but how do you take and then edit your screenshots because yours seem to come out quite well (I especially noticed that during screenshot competition entries)?[/quote]
I use
Wisdom-Soft Screenhunter every time I run FS- a small freeware program that saves a high-res bitmap capture every time you hit the print-screen key.
So say, after an hour long flight, I may have somewhere between 30 and 50 shots saved on my HDD, then I sort through them, copy about 10 of my favorites depecting different stages of the journey (this thread is a bad example- see
here for what I mean) then process each one through photoshop.
I also like to try and create as many varied angles to take my snaps from as possible, which I do using a combination of the
F1 View Utility for zooming levels, and the
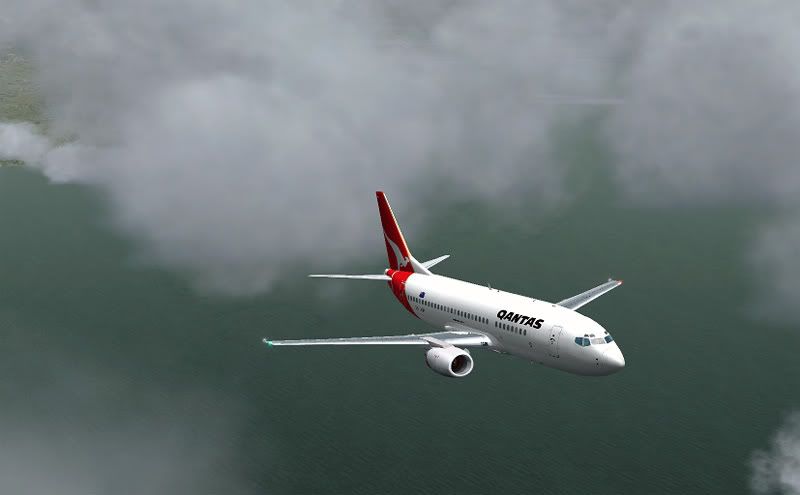
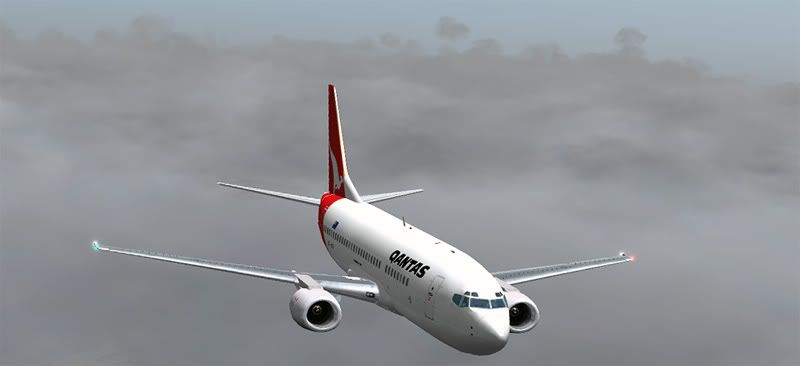
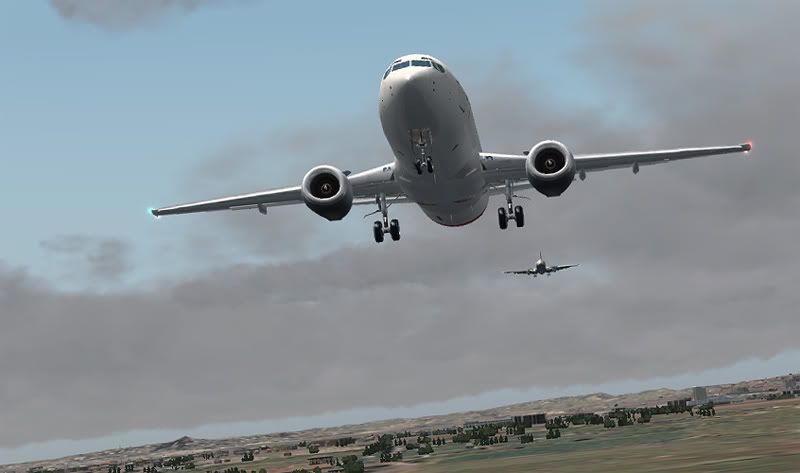
FS Recorder Module playback feature that allows you to create up to 30 custom spot views, another 30 custom VC views and 30 custom Tower Views which comes in really handy- you can set your angle from the aircraft, distance, height and zoom, plus set the camera to pitch rotate on the aircrafts horizontal axis or on the FS world axis which allows shots like this one below to be taken:
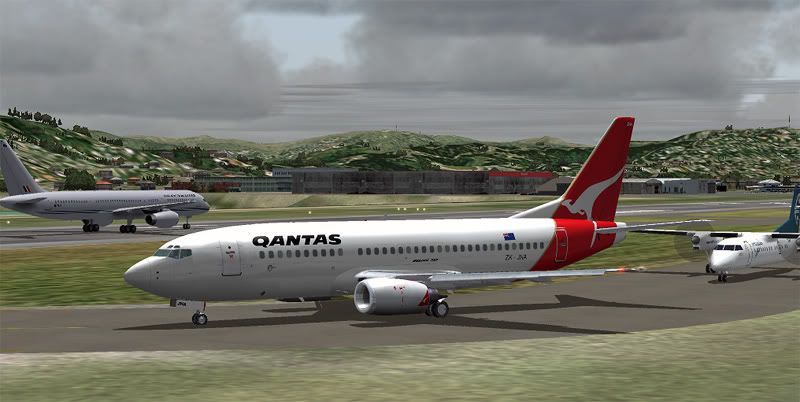
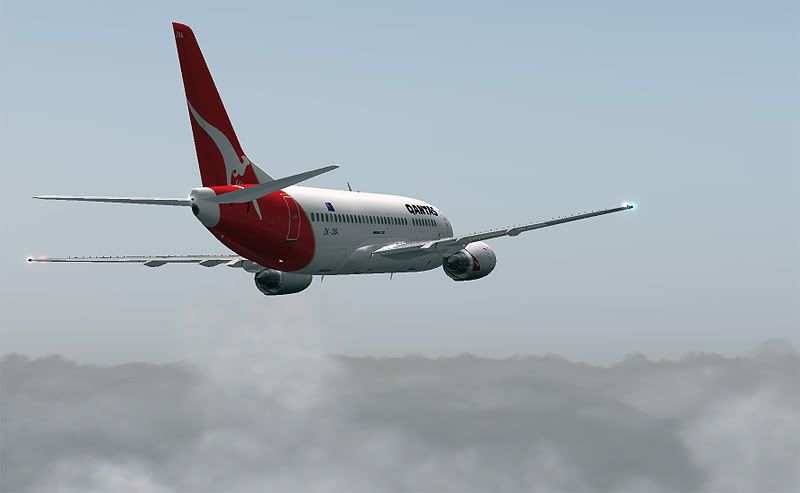
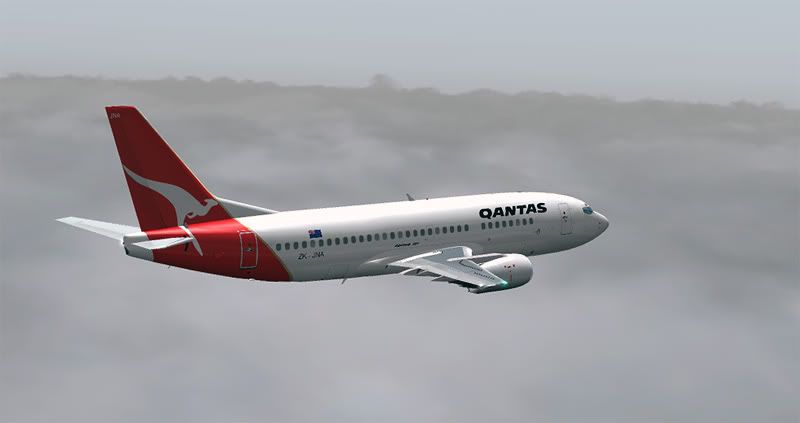
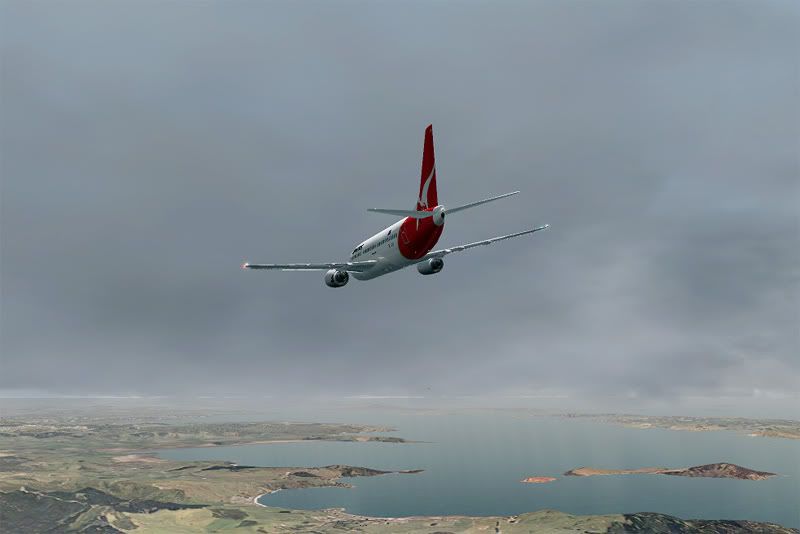
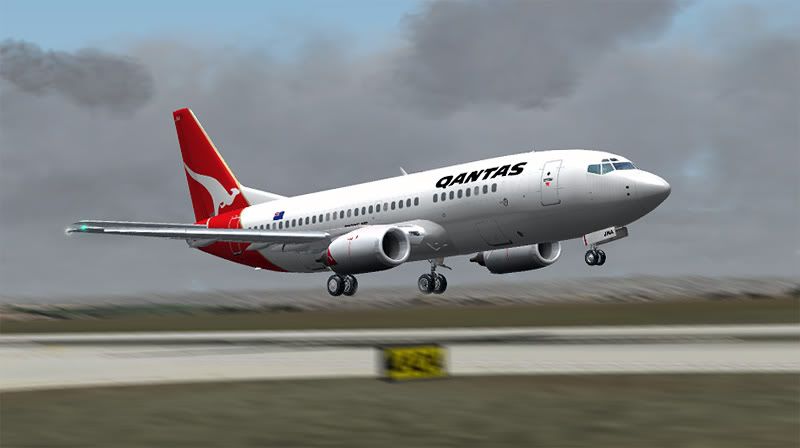
When setting up new camera views, I always make the effort to move the aircraft away from the center of the screen, which is what you always see with default FS9 to make the scenery or sky above/below your plane the center of focus- in my eyes, this makes your outcome shot seem a little more realistic, as real world photographers aren't going to capture their subjects perfectly in the center of their frame all the time- so by adding it an off balance horizon (this can be done by tilting the shot in photoshop afterwards too) it adds the illusion that the shot is not a perfect computerized setup.
The processing is pretty basic- I'm not sure what other people do, but I usually go for Image > Adjustments > Auto Levels (then reduce it by 50%), then Auto Color (and reduce it by 50% again).
Once it looks right on my screen, I crop it down to as close as possible to a 5:3 aspect ratio rectangle (apparently the 'Golden Ratio' that is most visually pleasing to the human eye, according to my graphics teacher- although I do like to mix up proportions and cuts, including some vertical strips, for a bit of variation), then go to Image > Image Size and shrink the width to 800 pixels wide (making sure the aspect ratio feature is locked on, otherwise the shot will be out of proportion)
Lastly I go for the Sharpen filter, and reduce that by as much as 70% or 80& depending on how bad the anti-aliasing looks on my screen- this setting will vary per graphics card I expect, and mine is notoriously bad.
Also, I save it at the highest possible quality .JPG option so it doesn't become all pixelated as MSpaint likes to do by default- usually the average size of my images are 150kb which I bulk upload to photobucket

This may seem quite long winded, but I've made such a habit of following the above rules that I usually finish each shot in about 30 seconds